
Create And Manage Payment Links or Invoices Using Priyo Pay Platform
This tutorial guides you through creating and managing payment links or invoices using the Priyo Pay platform.
Go to pay.priyo.com
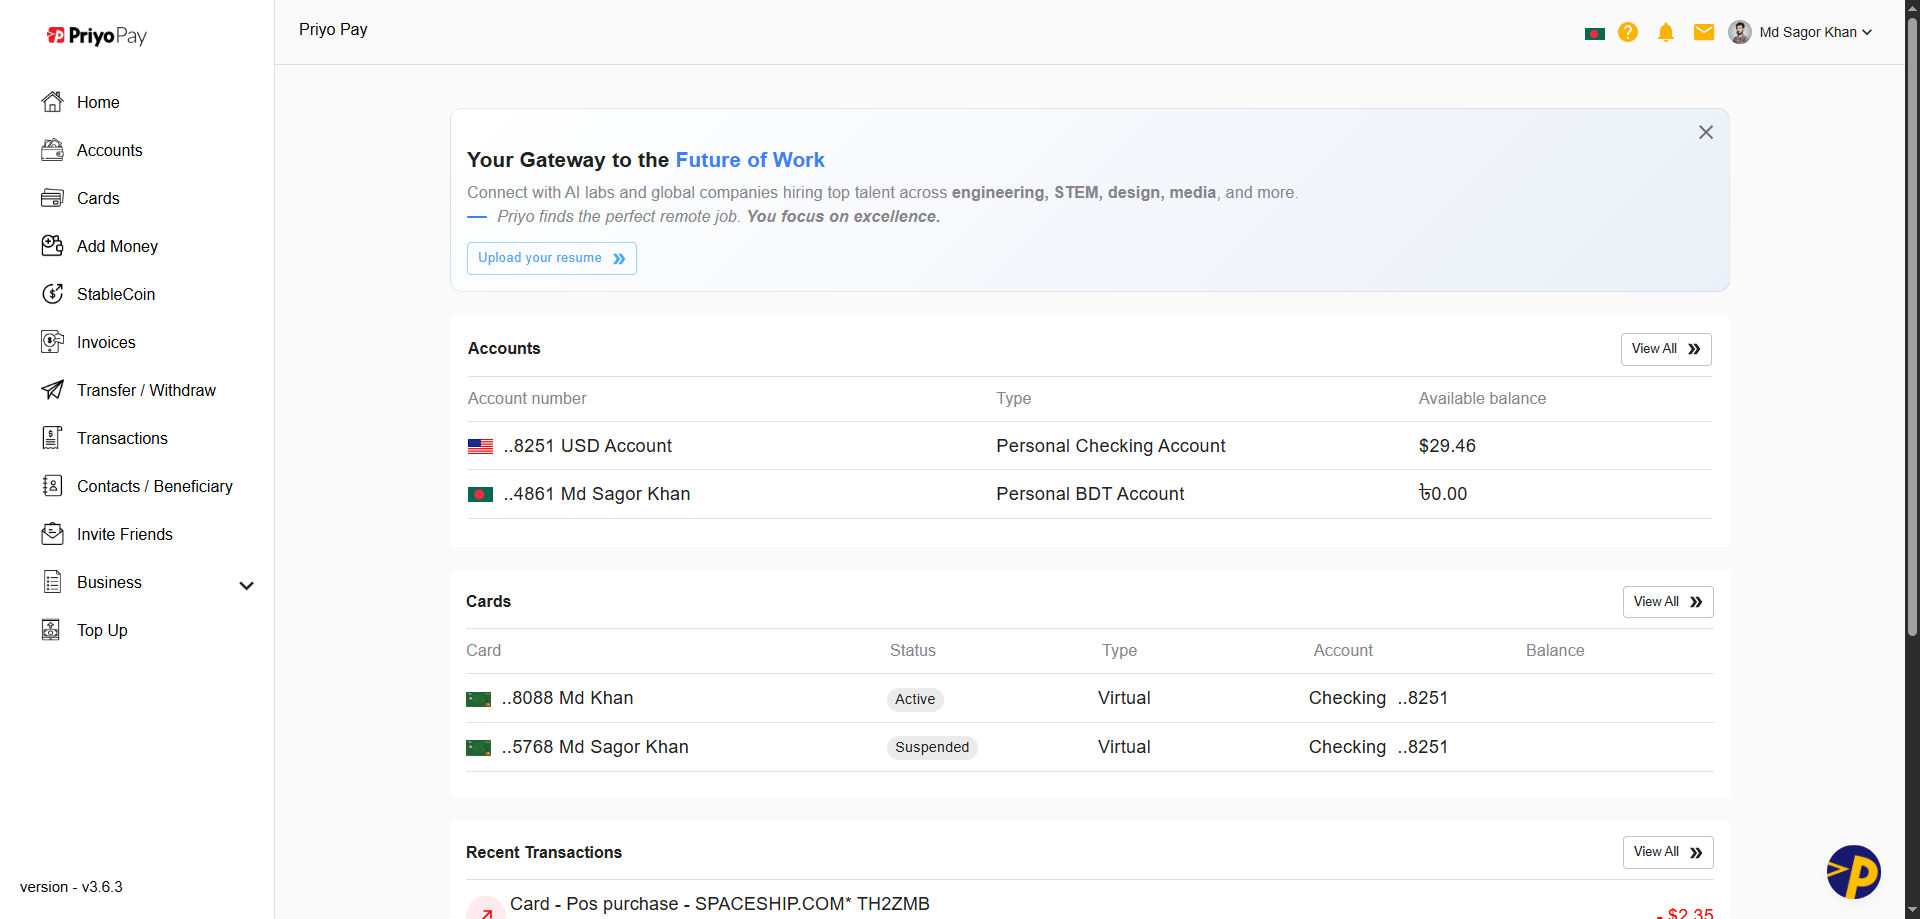
1. Go to Priyo Pay Dashboard
First, log in to your Priyo Pay account and navigate to the dashboard.
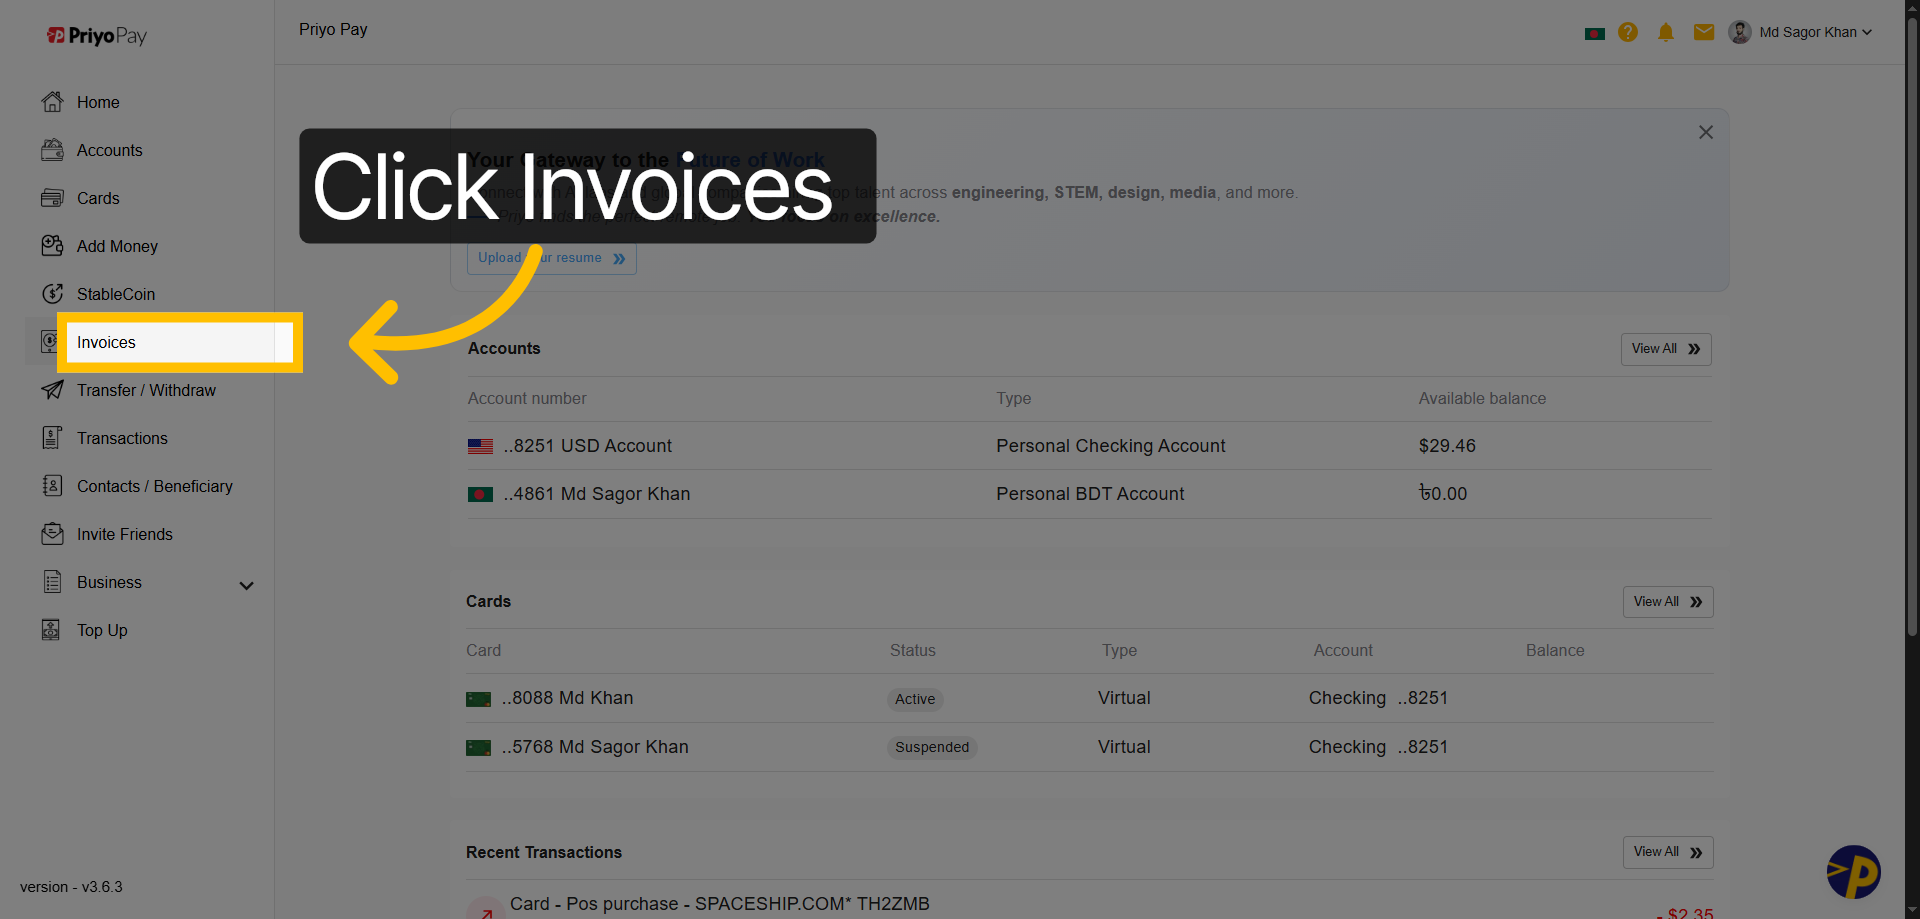
2. Open Invoices Section
Click "Invoices" or "Payment Gateway" to navigate to the section where you can view and manage all your invoices.
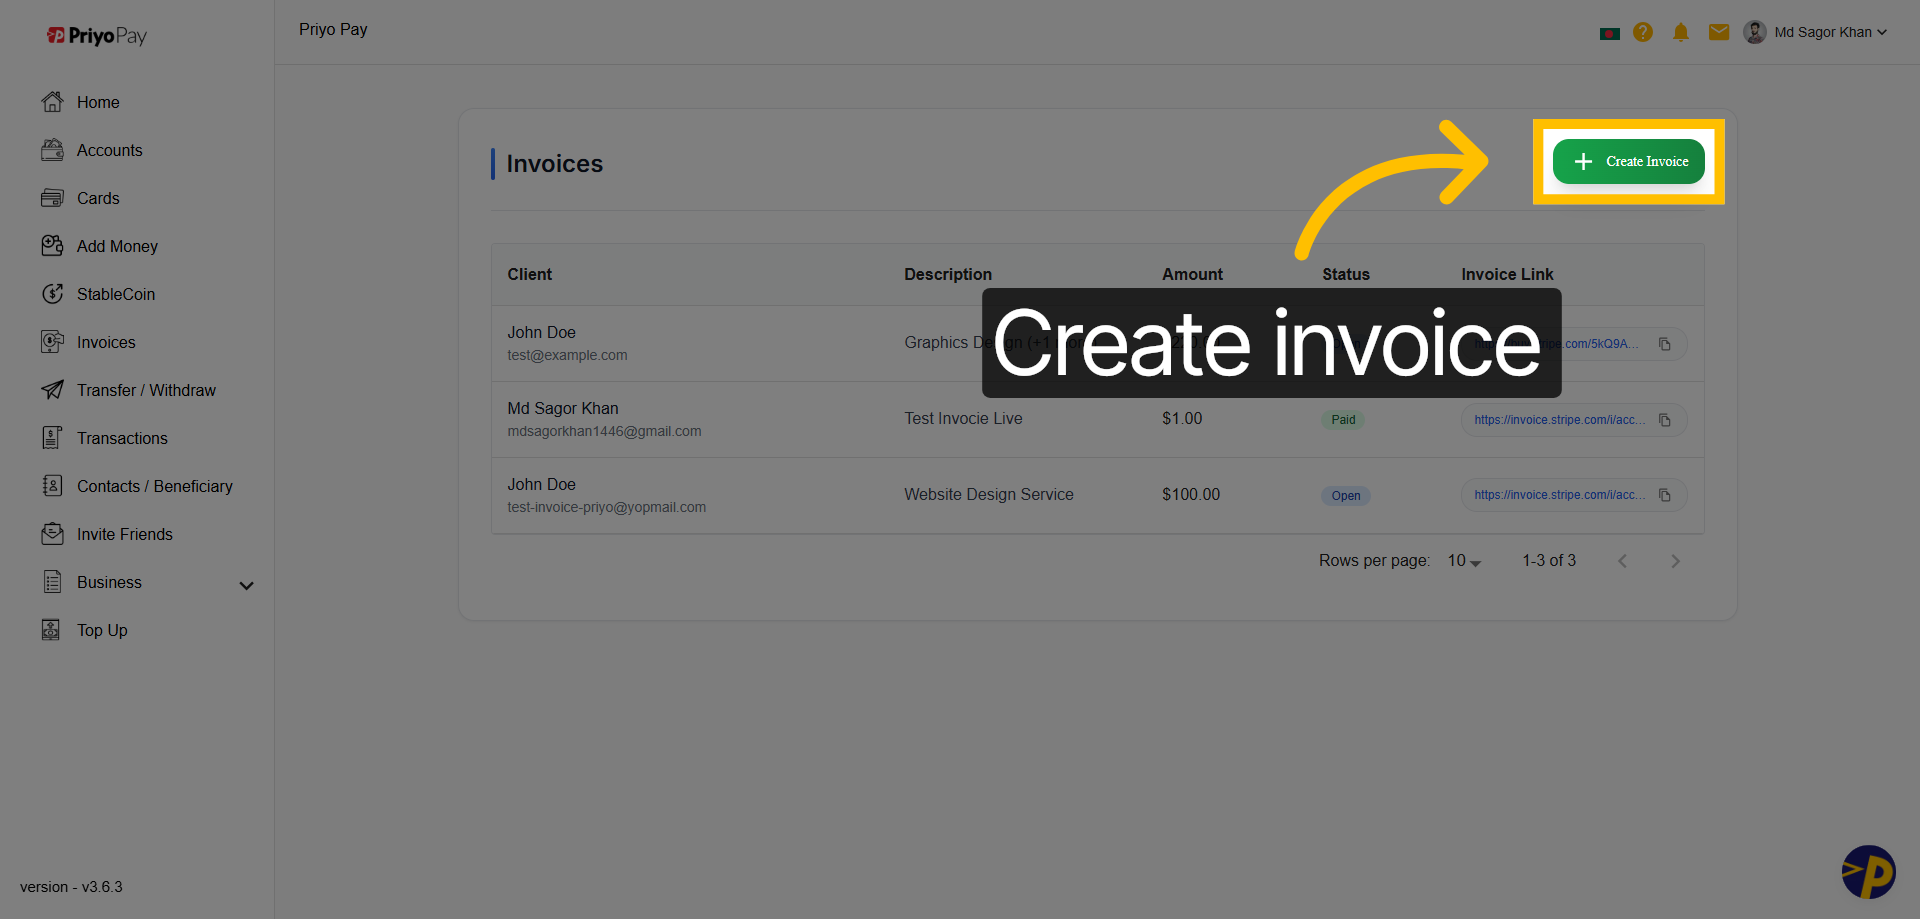
3. Initiate Invoice Creation
Click "Create Invoice" to start generating a new invoice for your client.
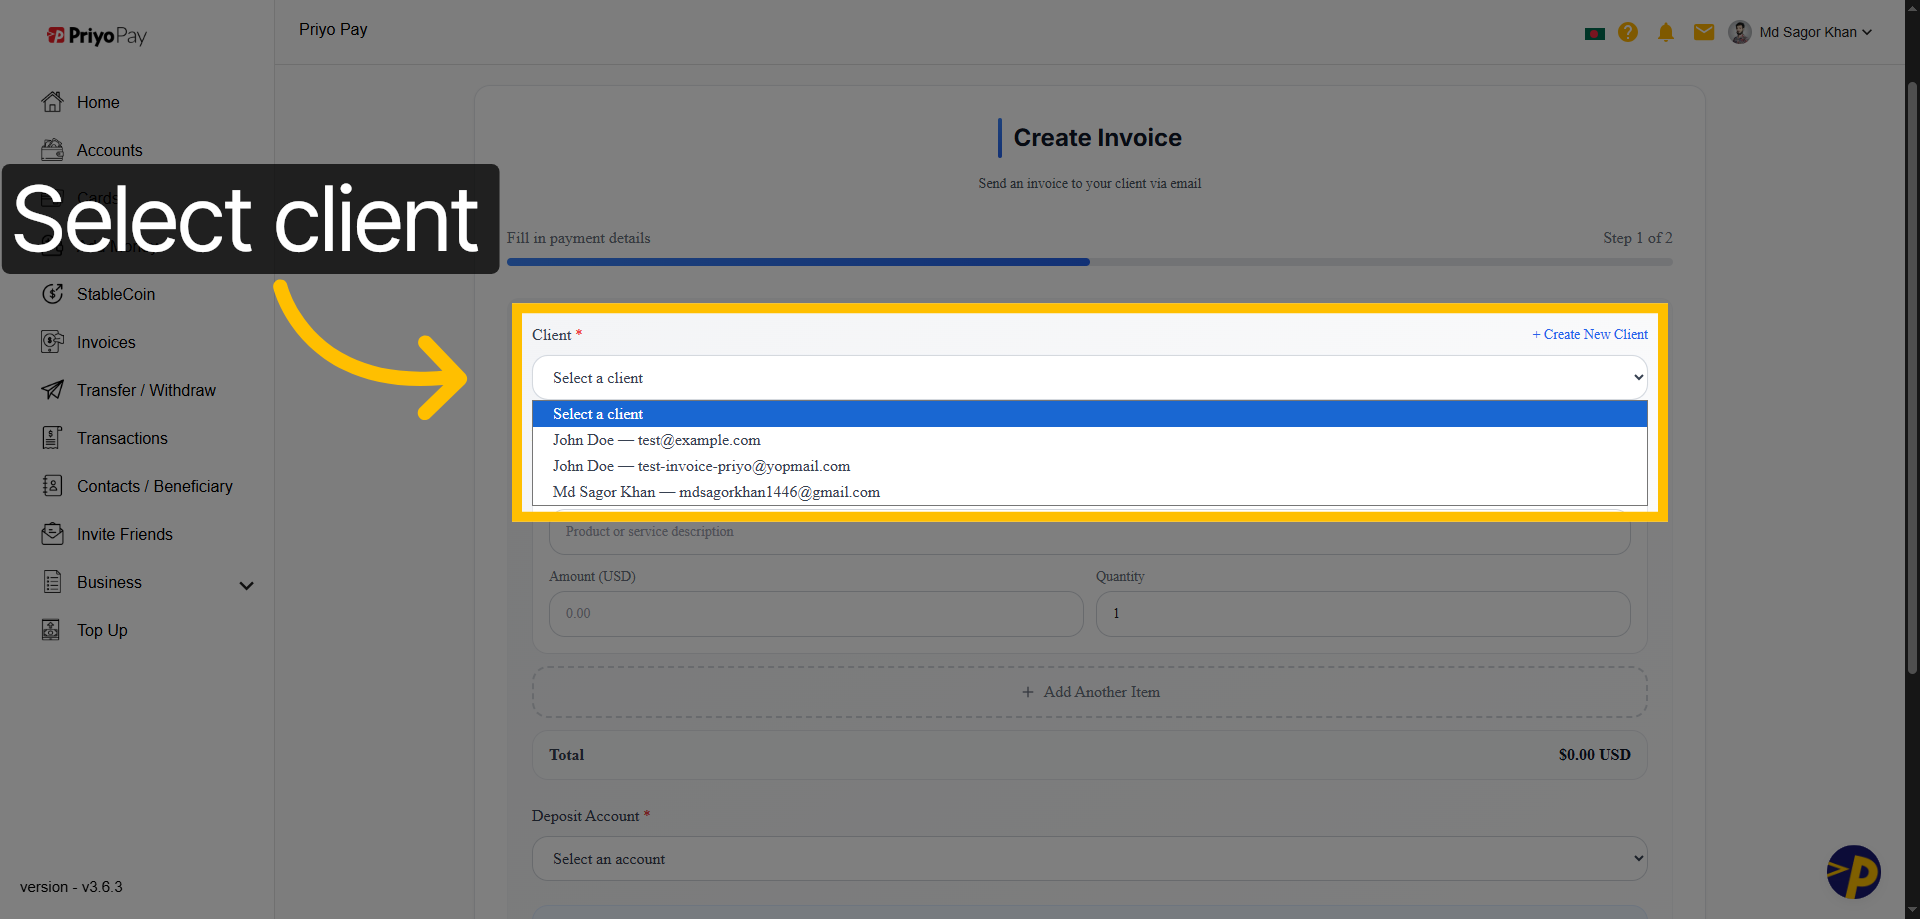
4. Select Existing Client
Click "Select a client" to choose an existing client from your list for this invoice.
5. Add New Client
Click "Create New Client" to add a new client to your Priyo Pay account.

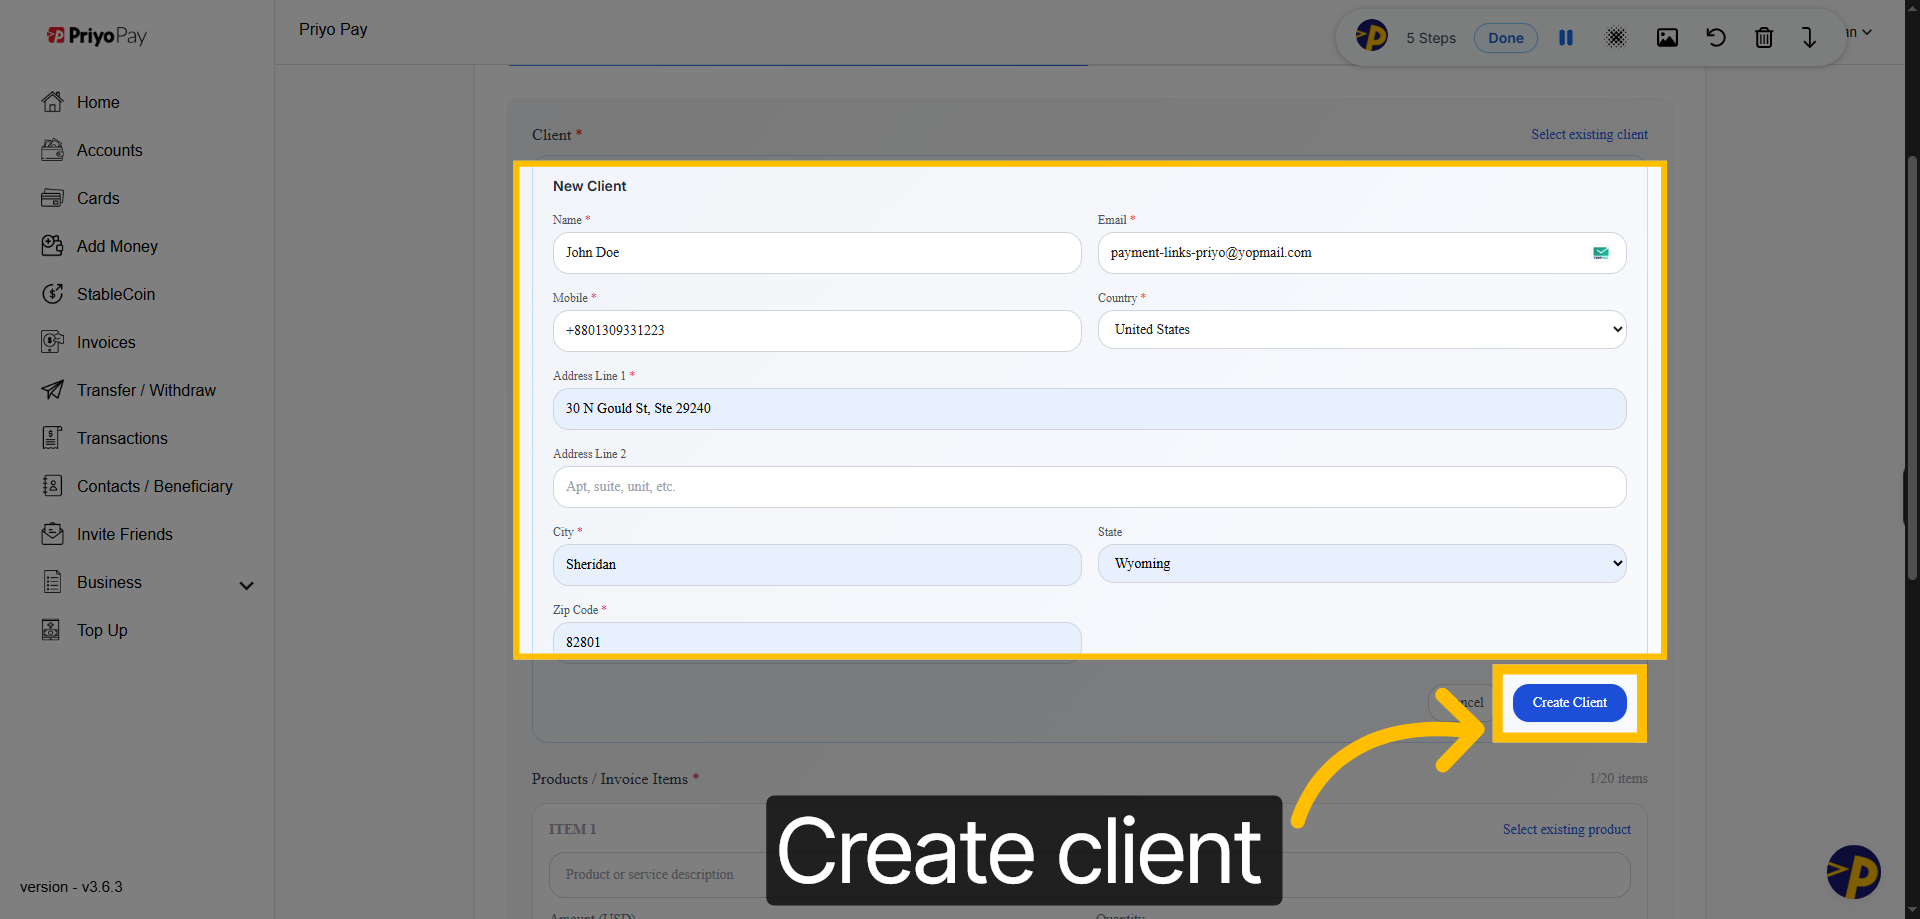
6. Confirm Client Creation
Complete the client information fields, including Name, Email, Mobile Number, Country, and Address. Then, click "Create Client" to finalize the addition of the new client to your client list.
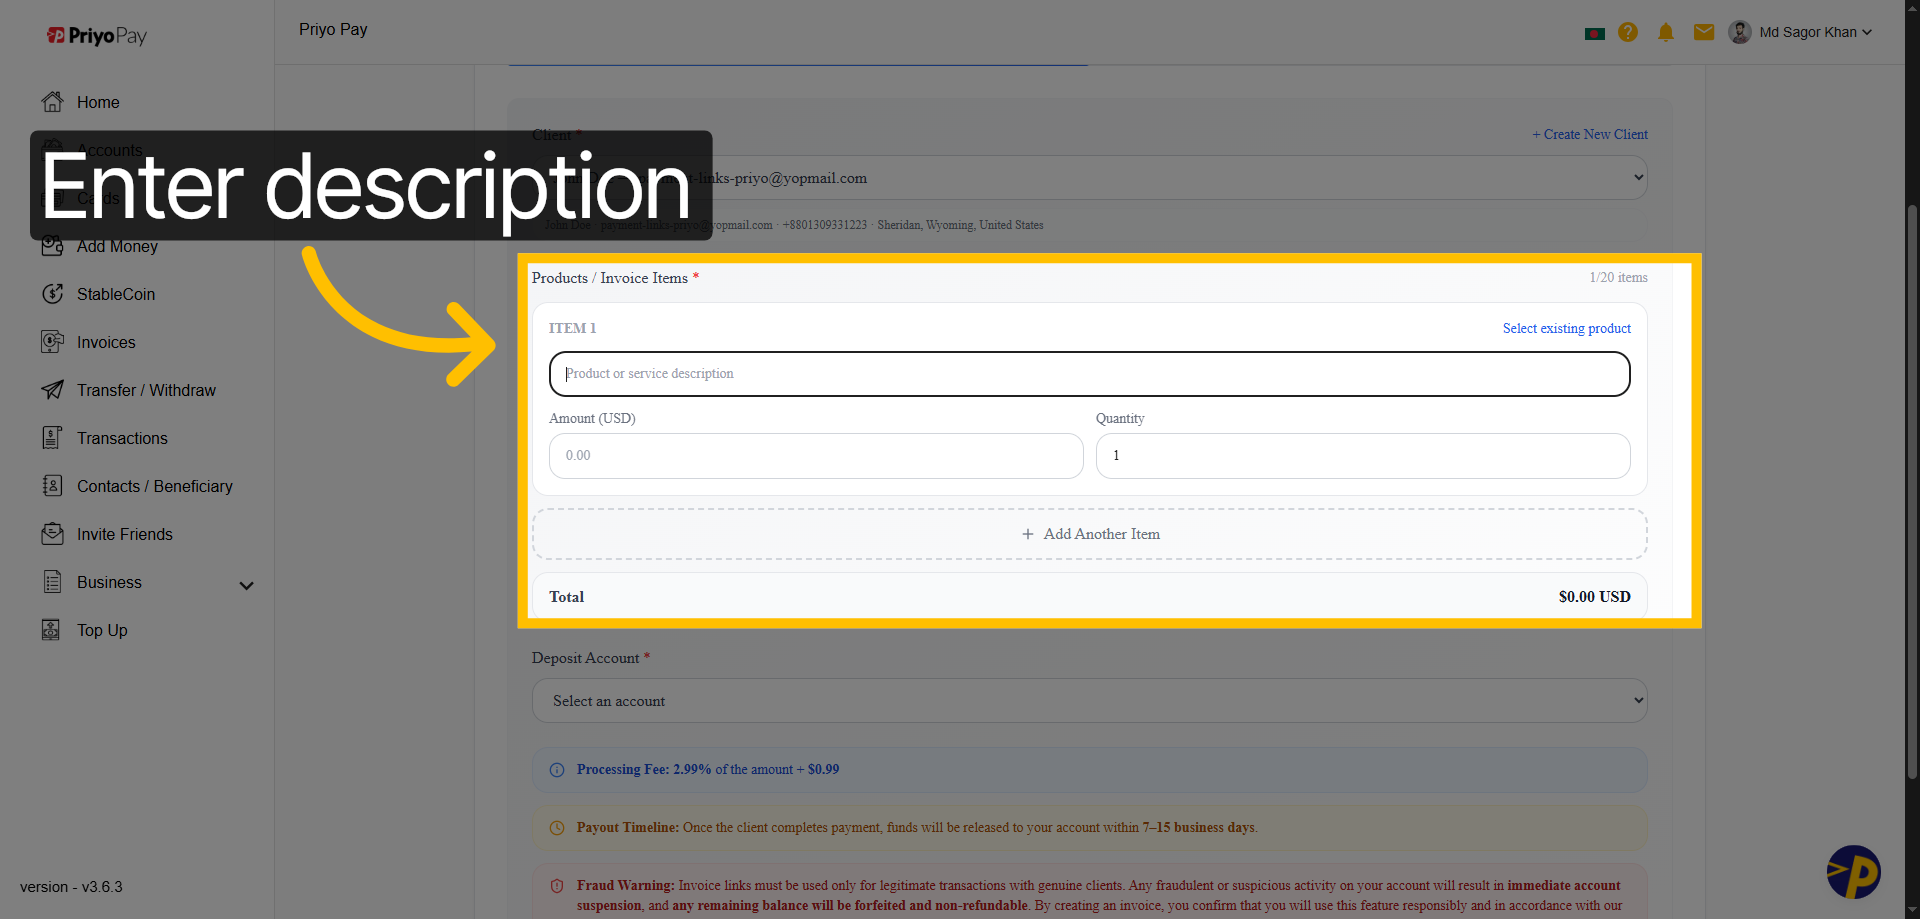
7. Enter Product Description
Provide the details of the item or service you are invoicing for, including the Product Description, Amount, and Quantity.
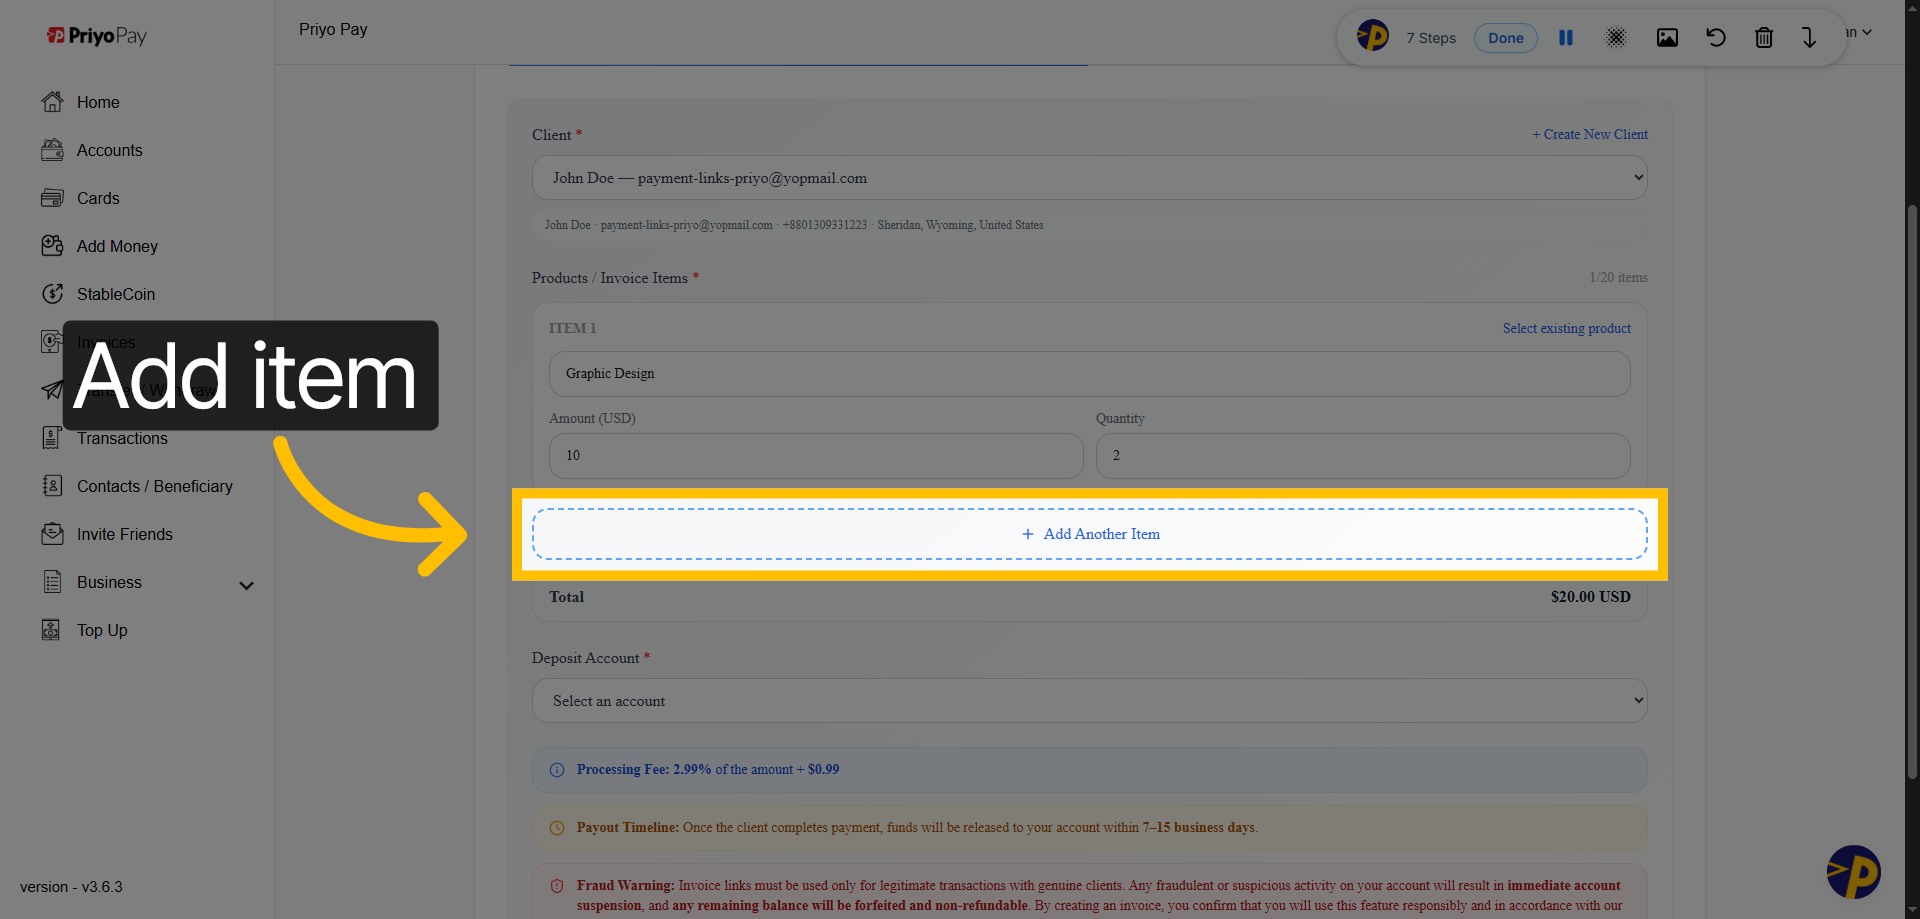
8. Add Additional Invoice Item
Click "Add Another Item" to include more products or services in the invoice.
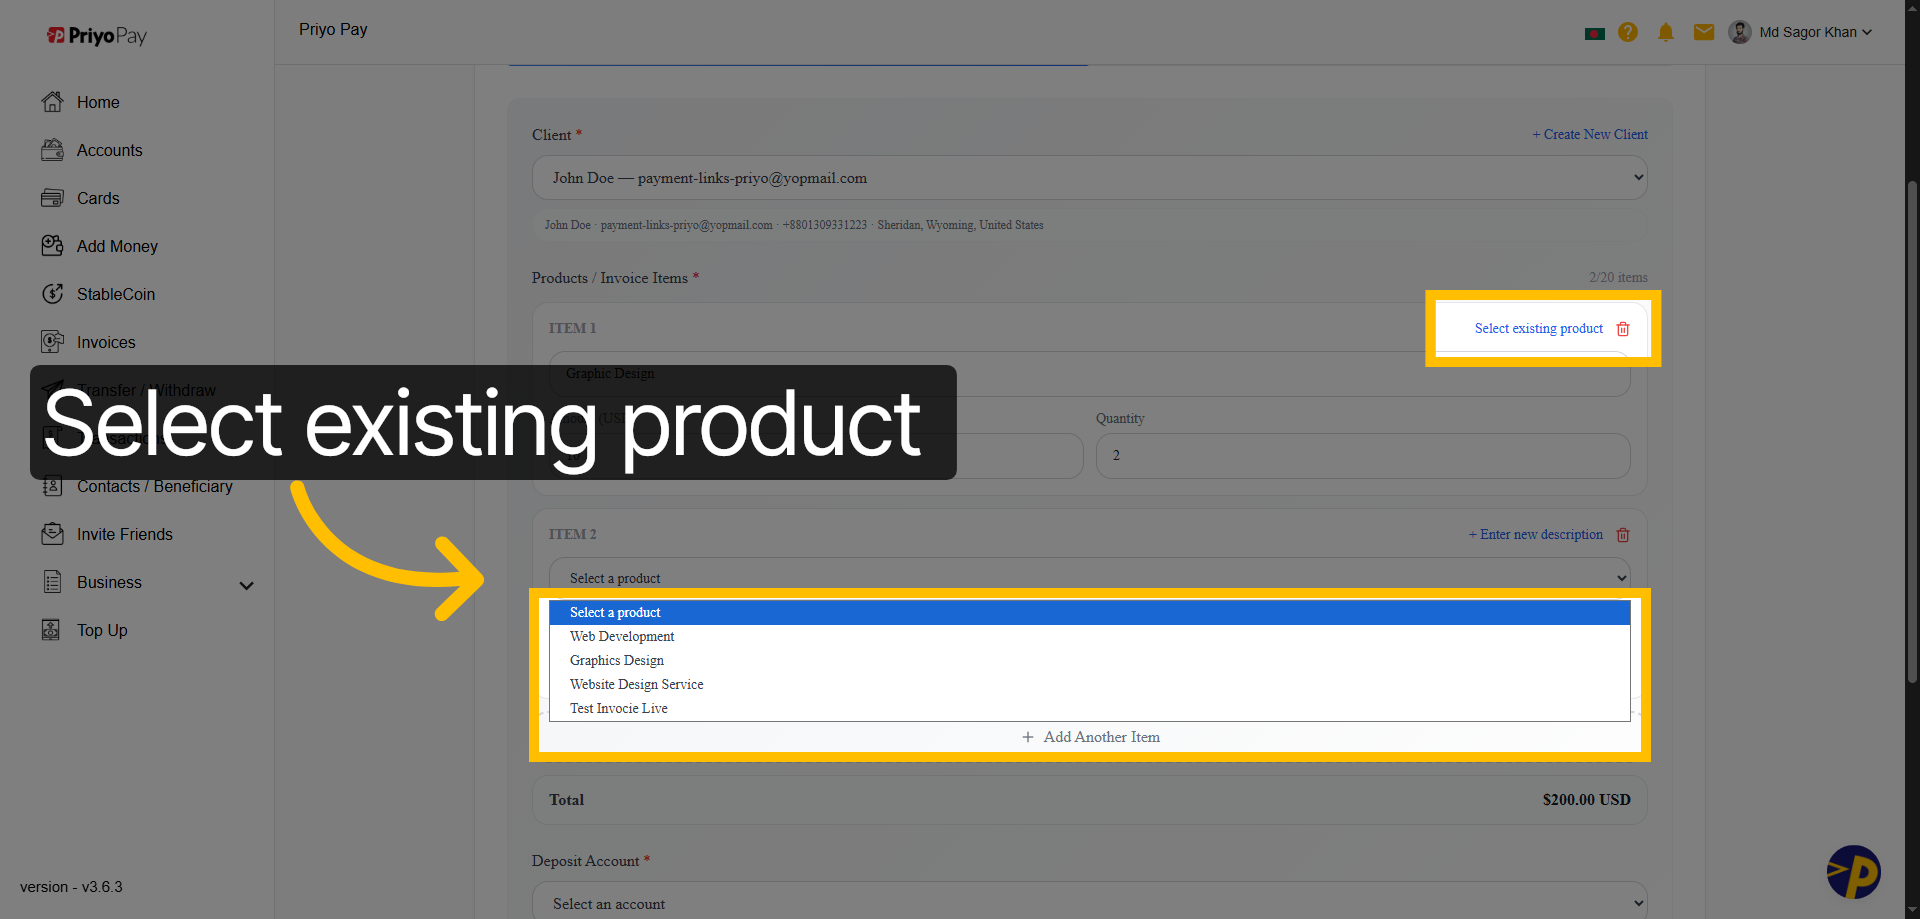
9. Choose Existing Product
You can also choose a product from your saved list for the invoice using the "Select existing product" option.
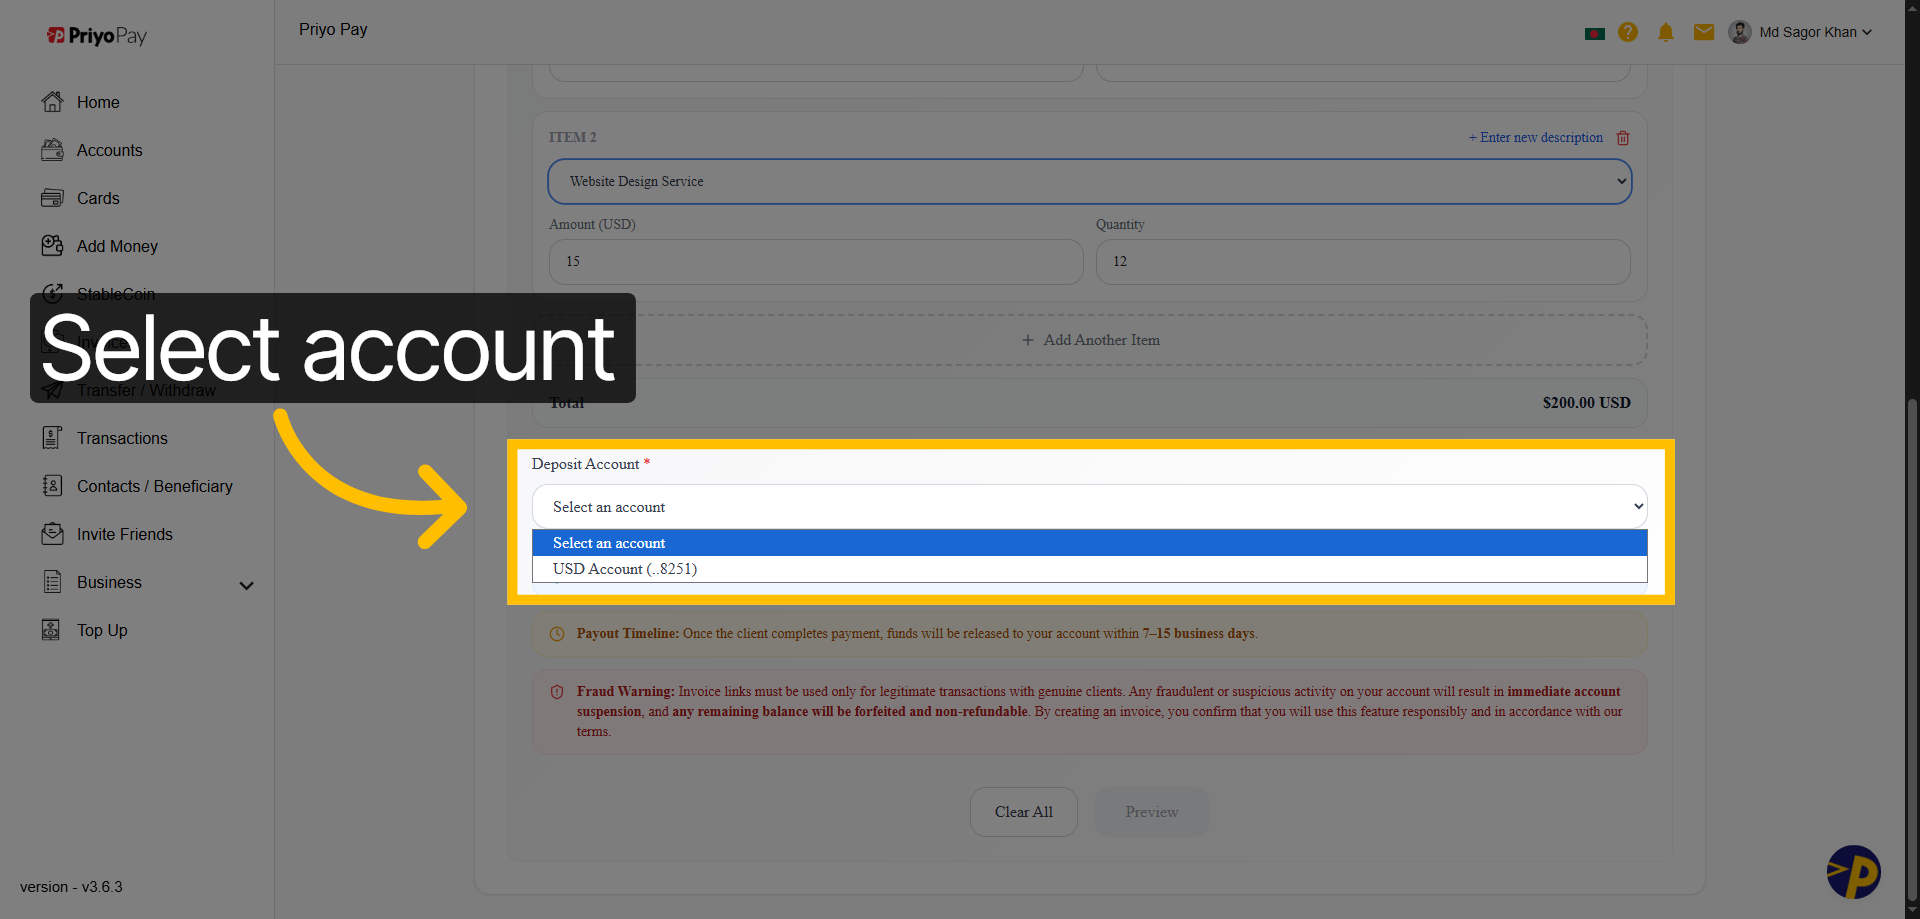
10. Choose Payment Account
Next step: pick the deposit account where payments will be received.
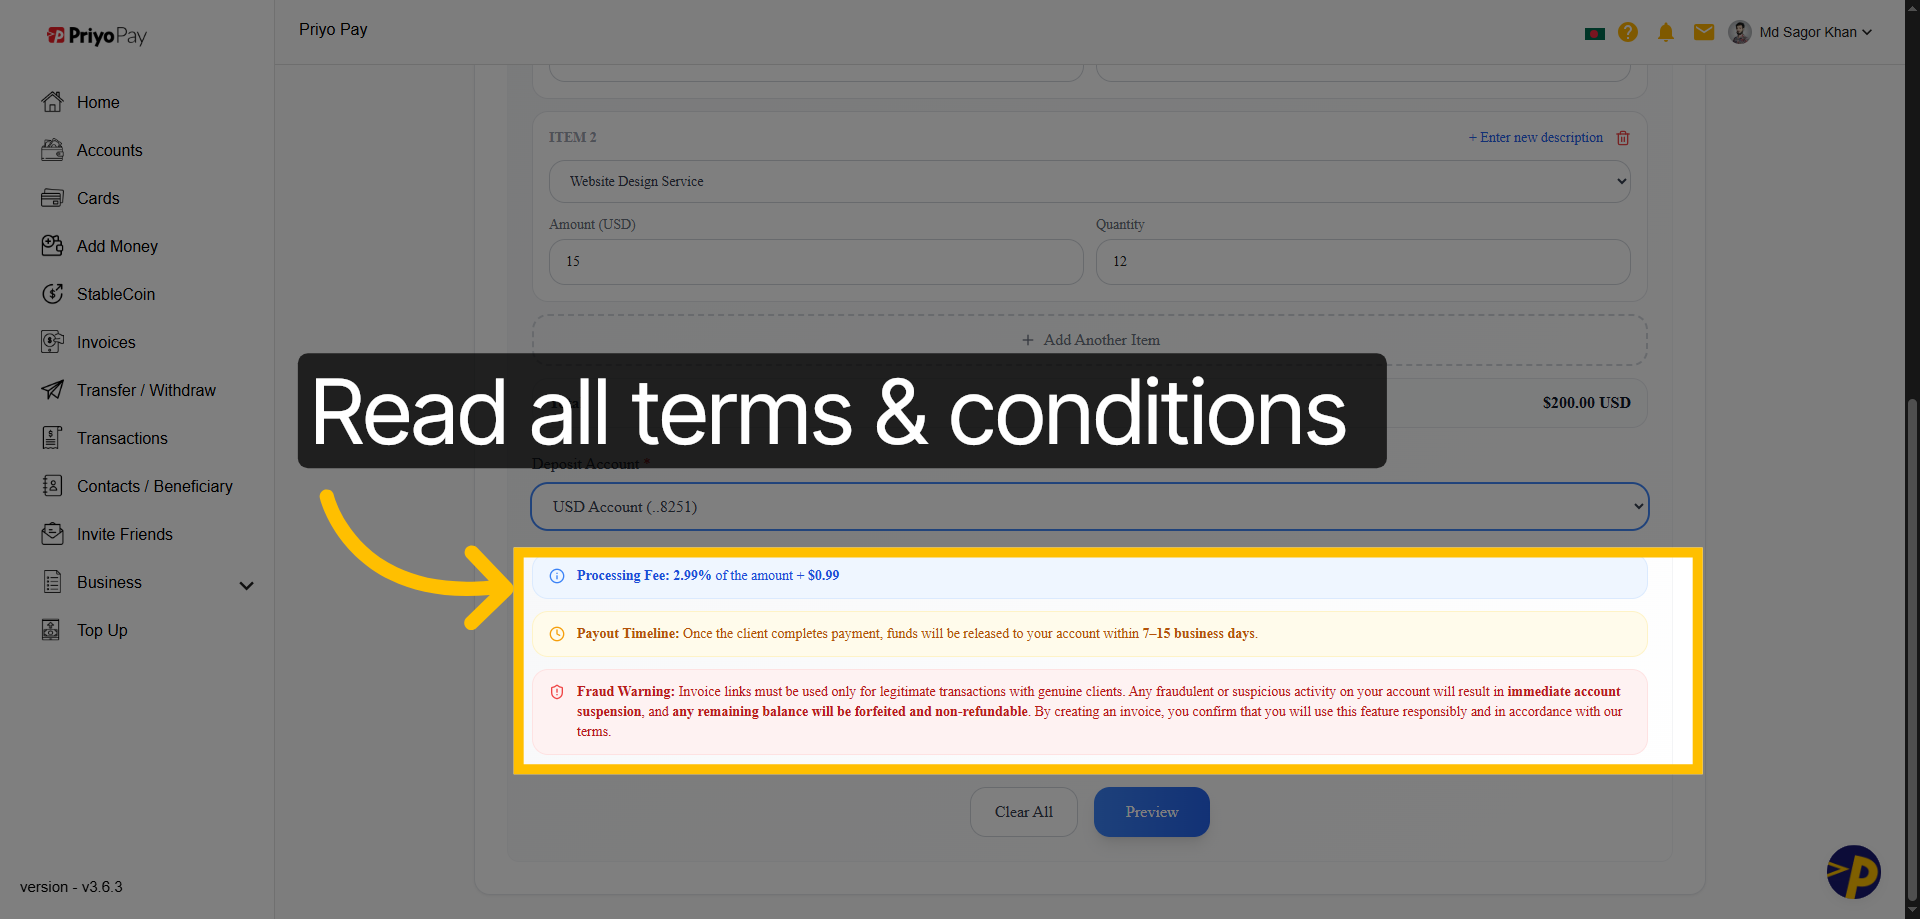
11. Read Terms & Conditions
Please review all terms and conditions before proceeding to the next step.
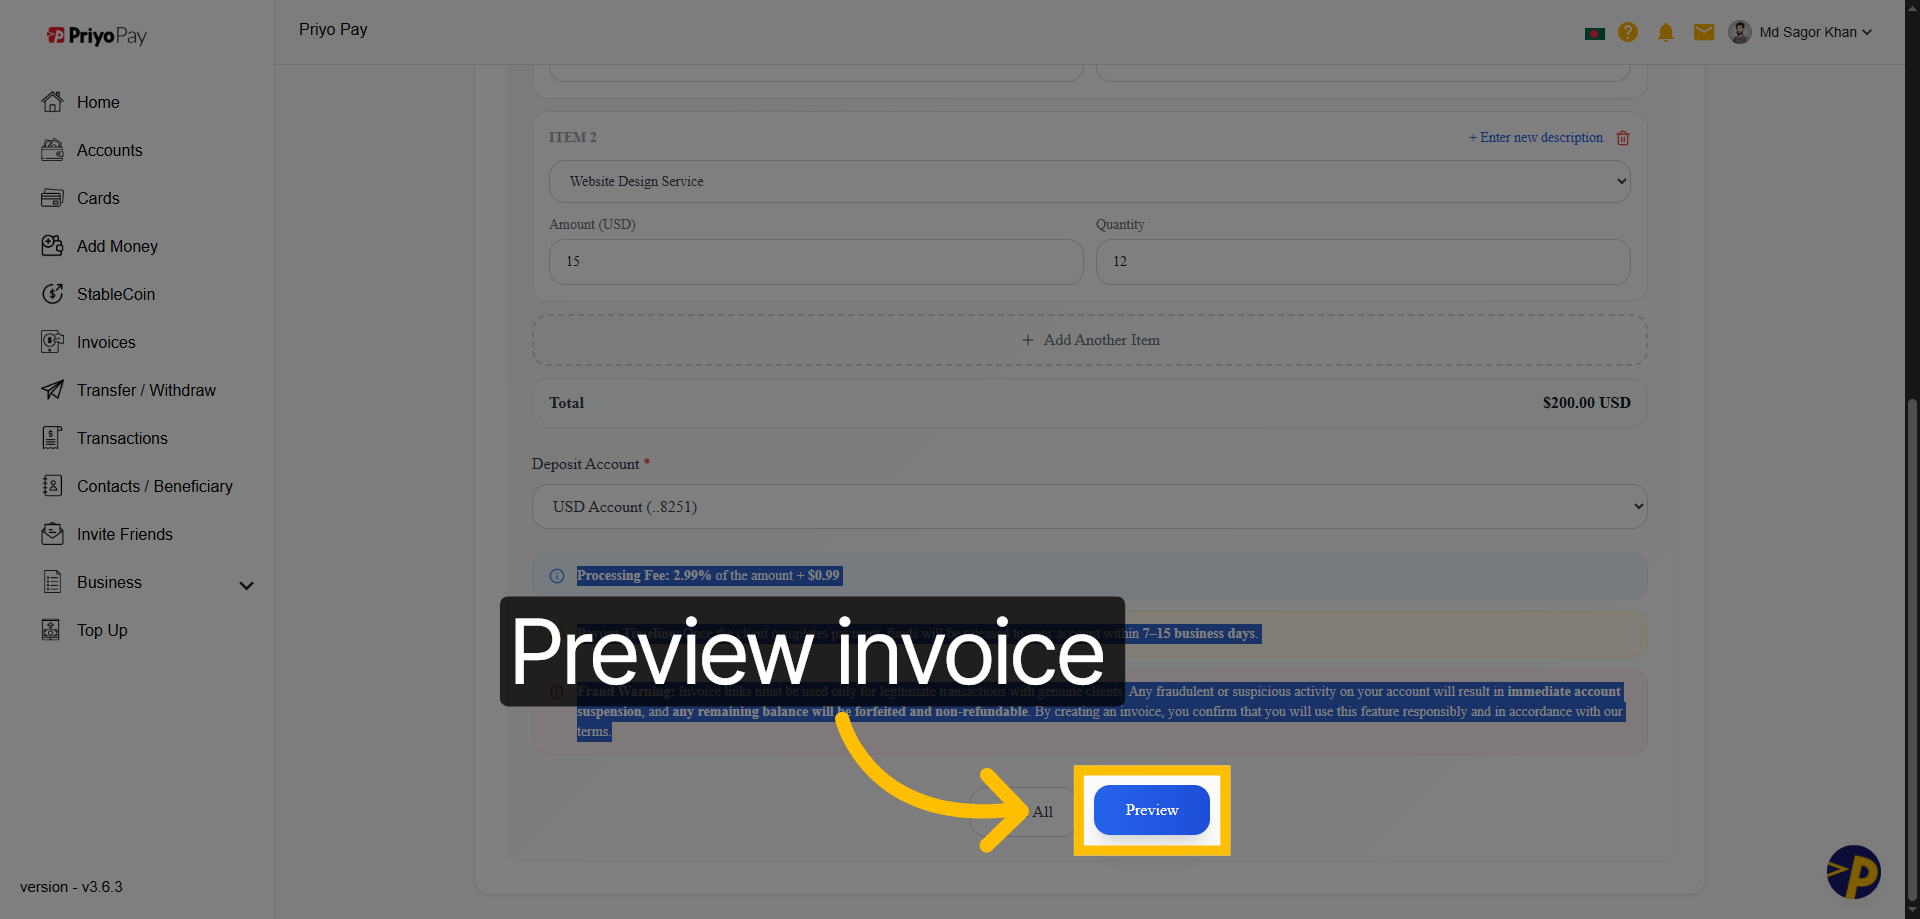
12. Preview Invoice
Click "Preview" to review the invoice details before finalizing it.
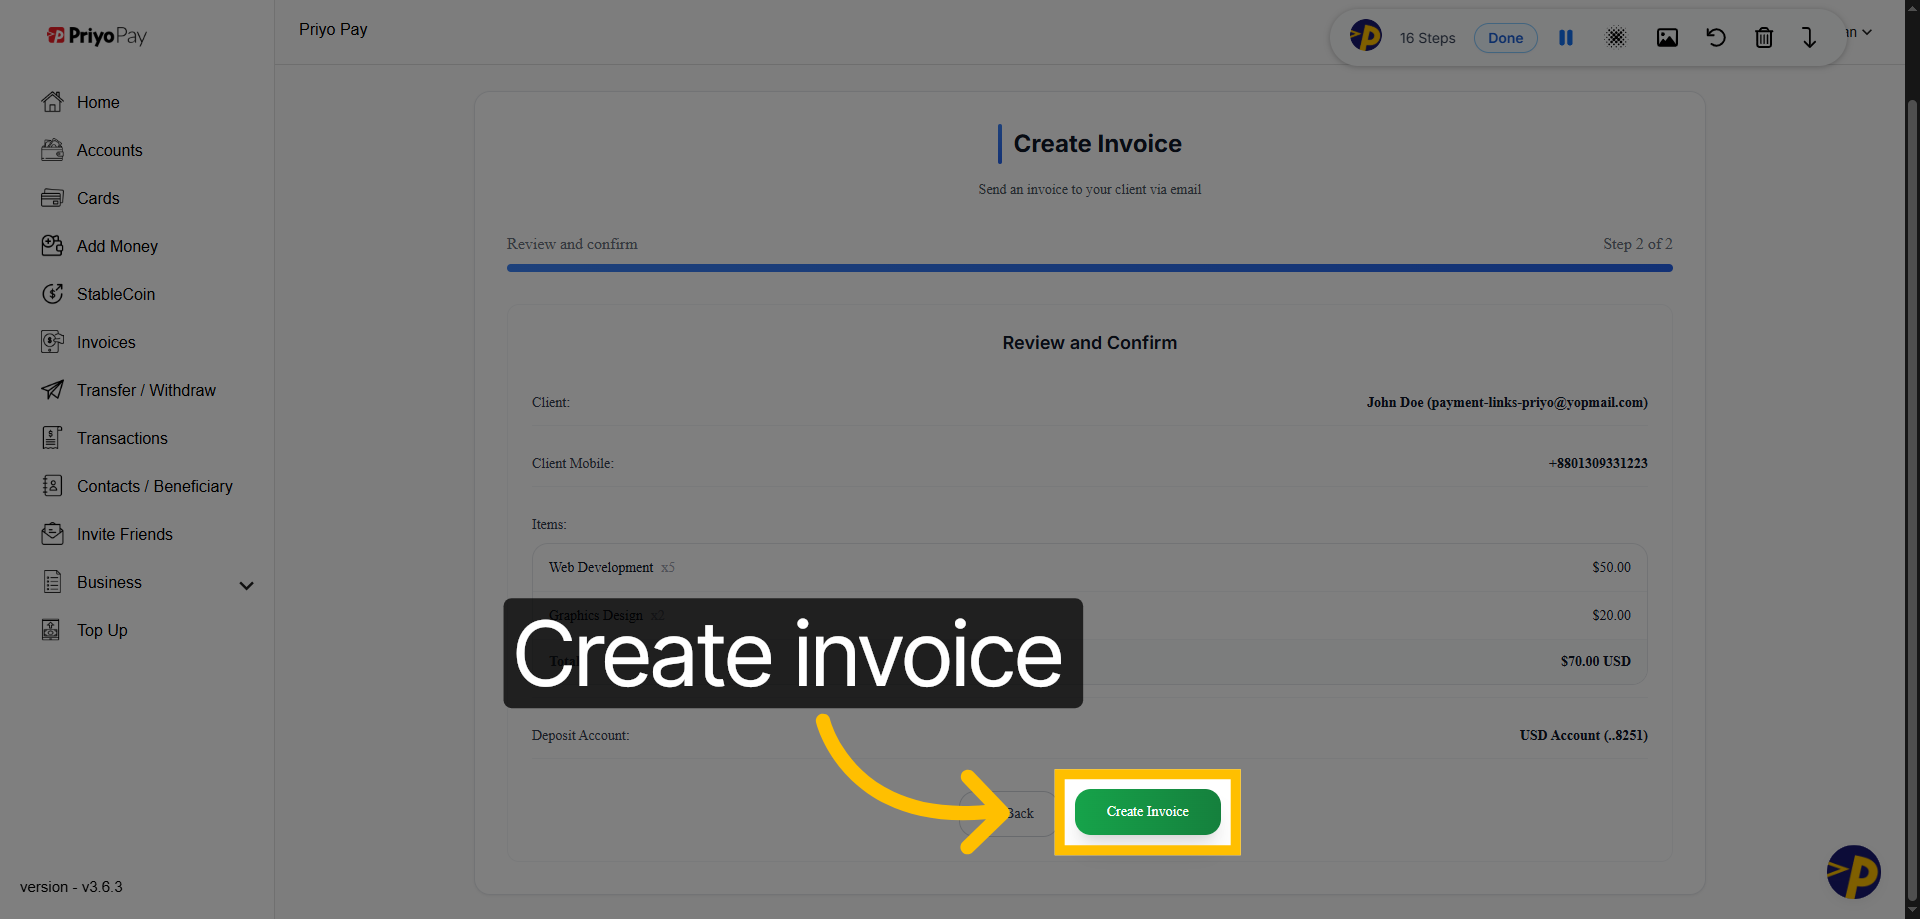
13. Finalize Invoice Creation
Click "Create Invoice" to generate the invoice or payment link, and send it to your client. Note: A copy of the invoice or payment link will be automatically sent to your client via email.
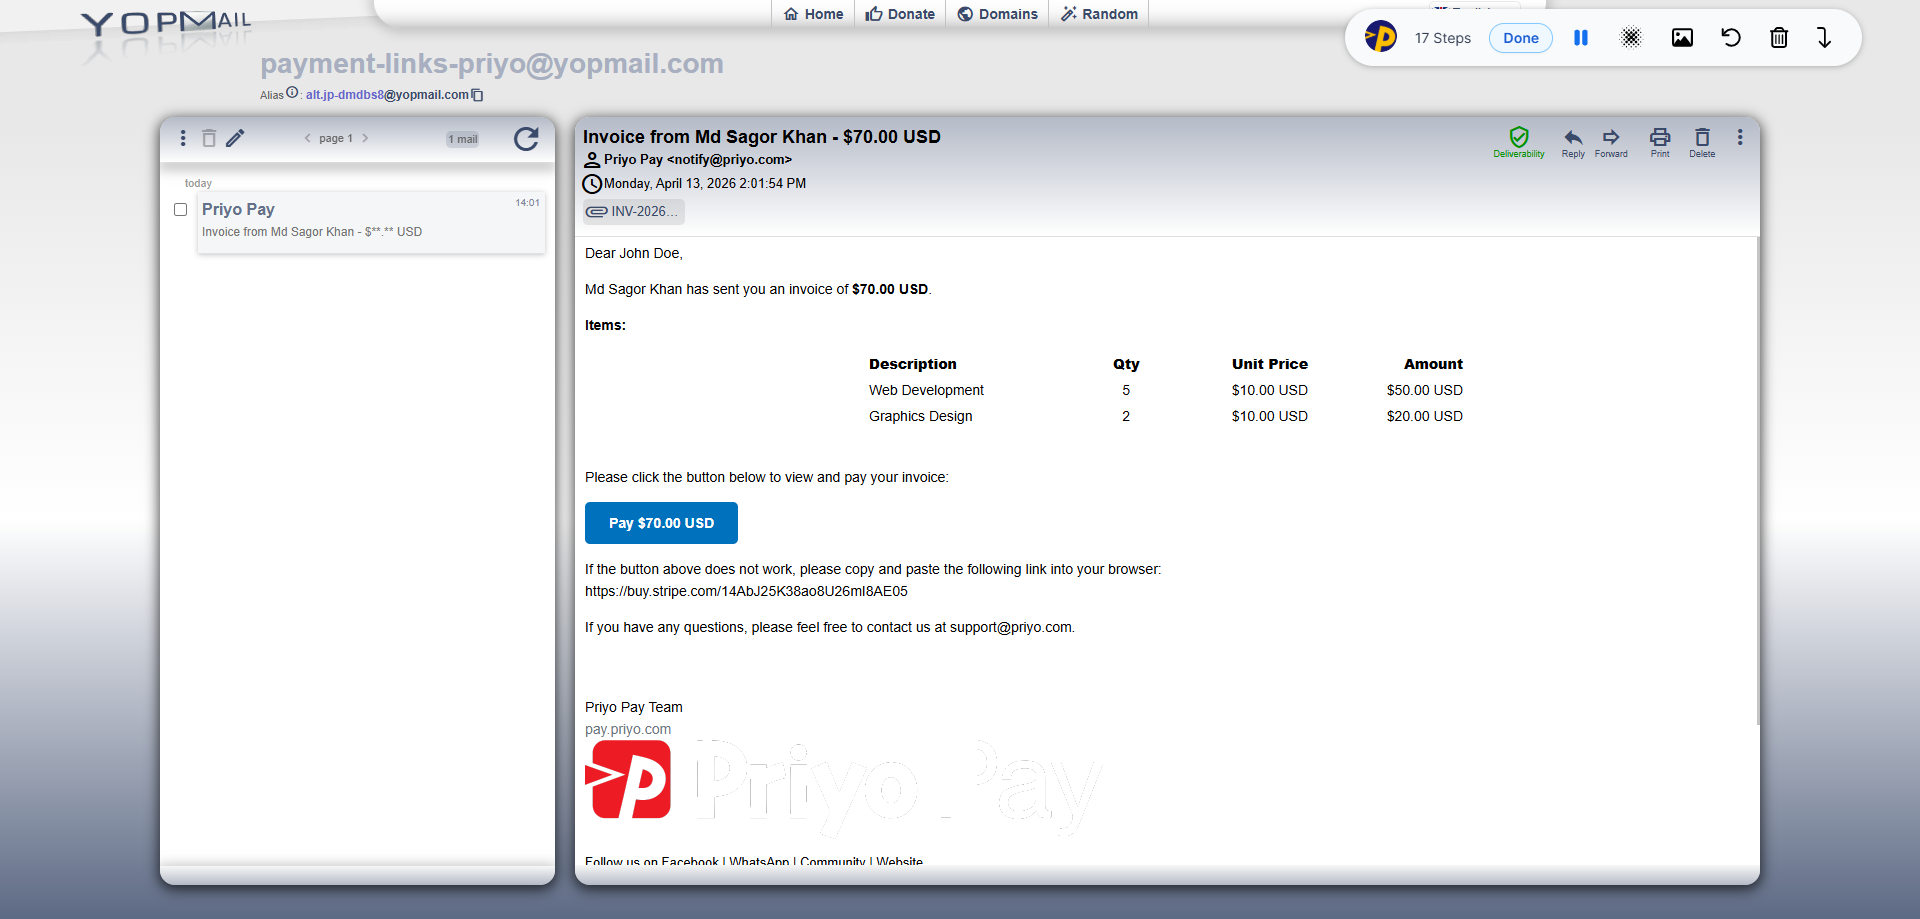
14. Client Side: Access Email Inbox
Your client can check their email inbox for incoming messages related to your invoice or payment link.
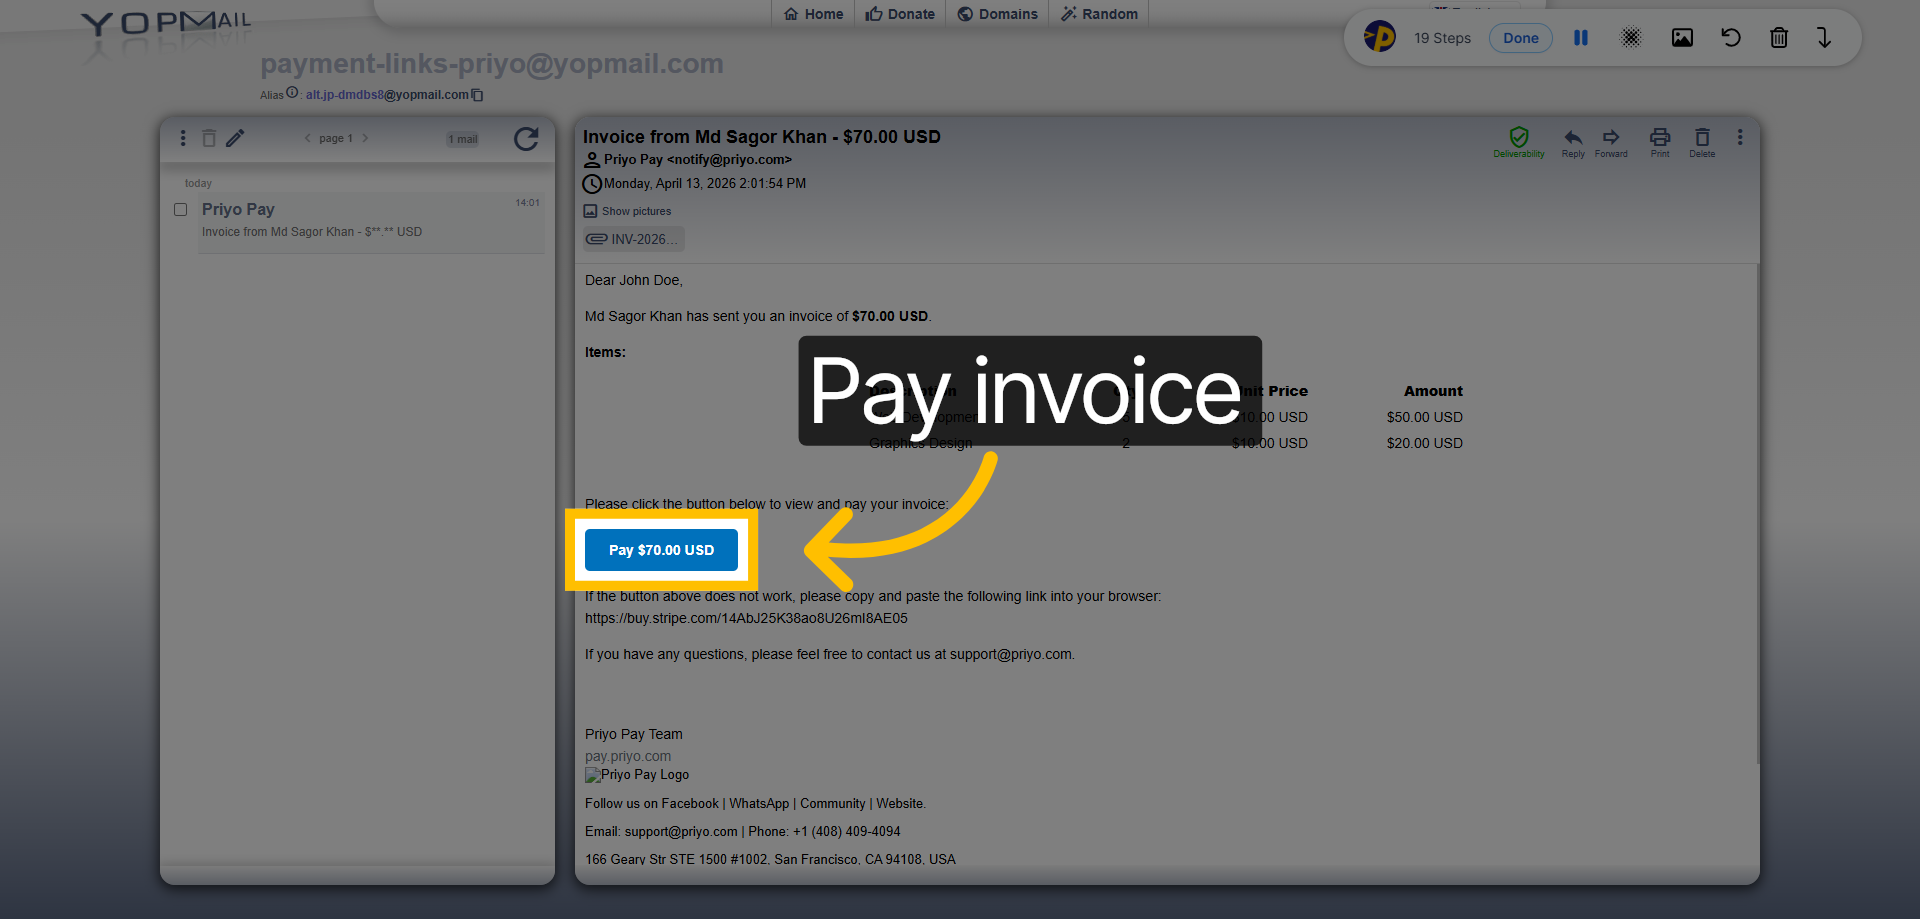
15. Client Side: Initiate Payment
Clients can click "Pay Button" to start the payment process for the invoice or payment link.
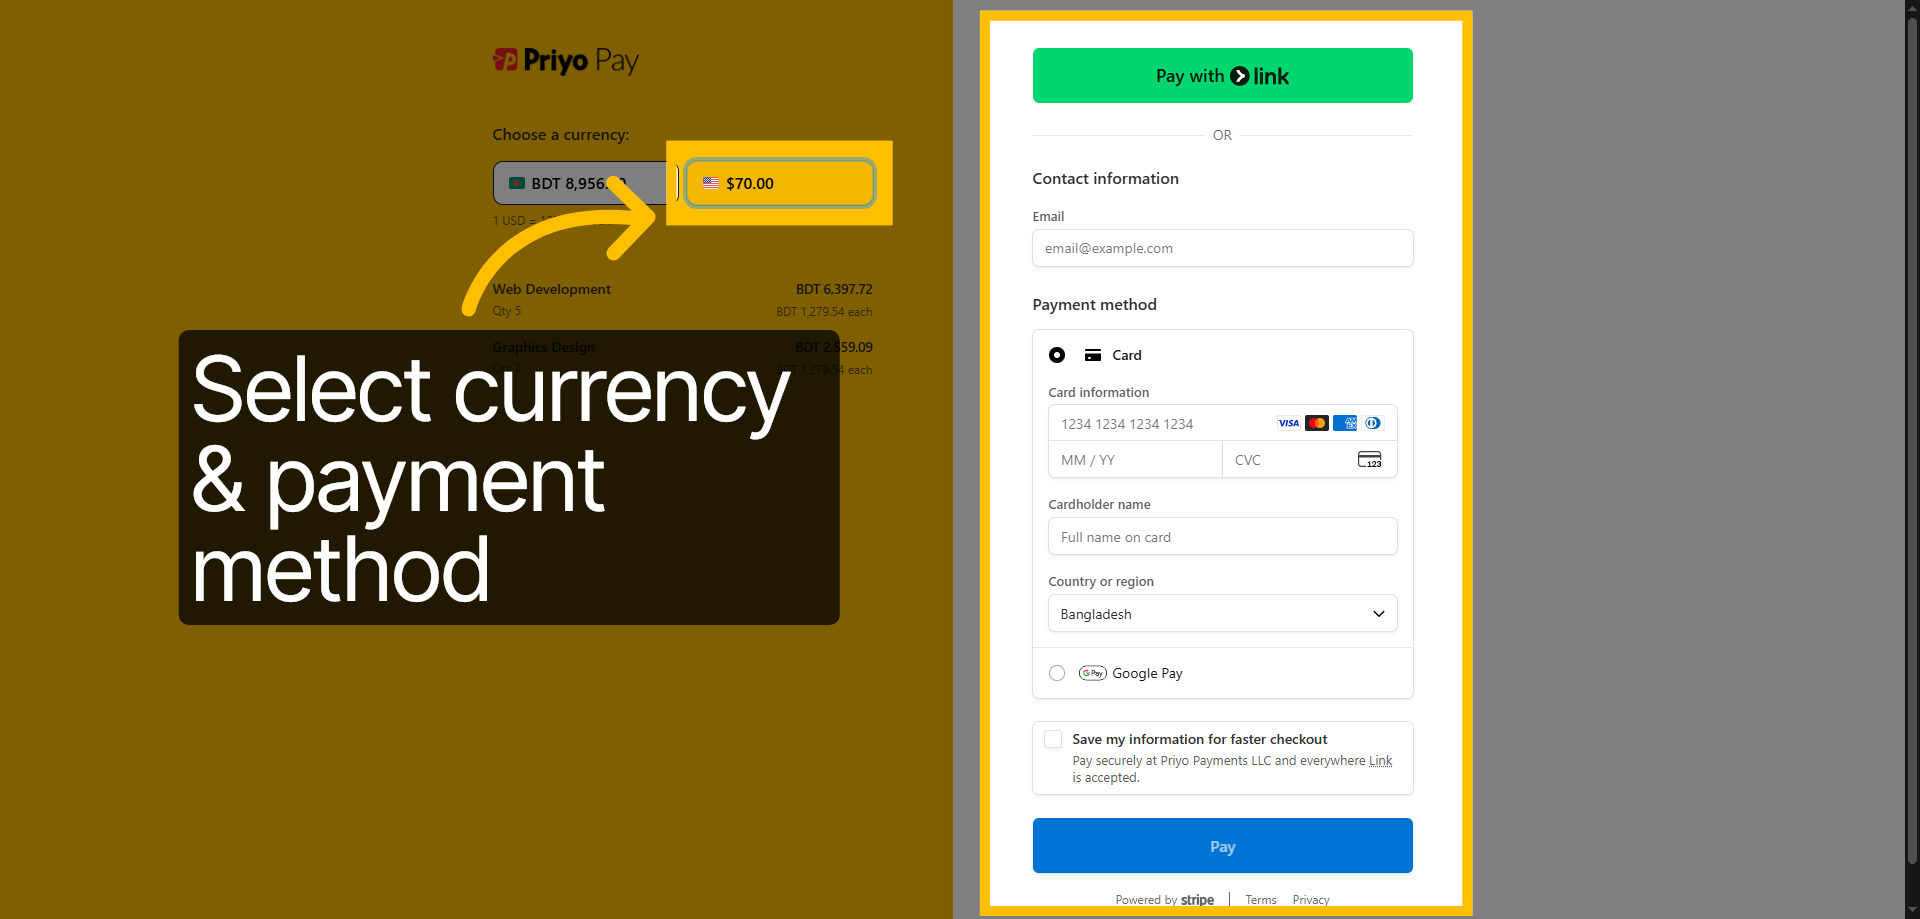
16. Client Side: Complete Payment
Clients can select their preferred currency and payment method to complete the transaction. The currency and payment method may vary depending on the country.
Congratulations! You have successfully created an invoice or payment link through the Priyo Pay platform.
Updated on: 05/05/2026
Thank you!